
Quick answer
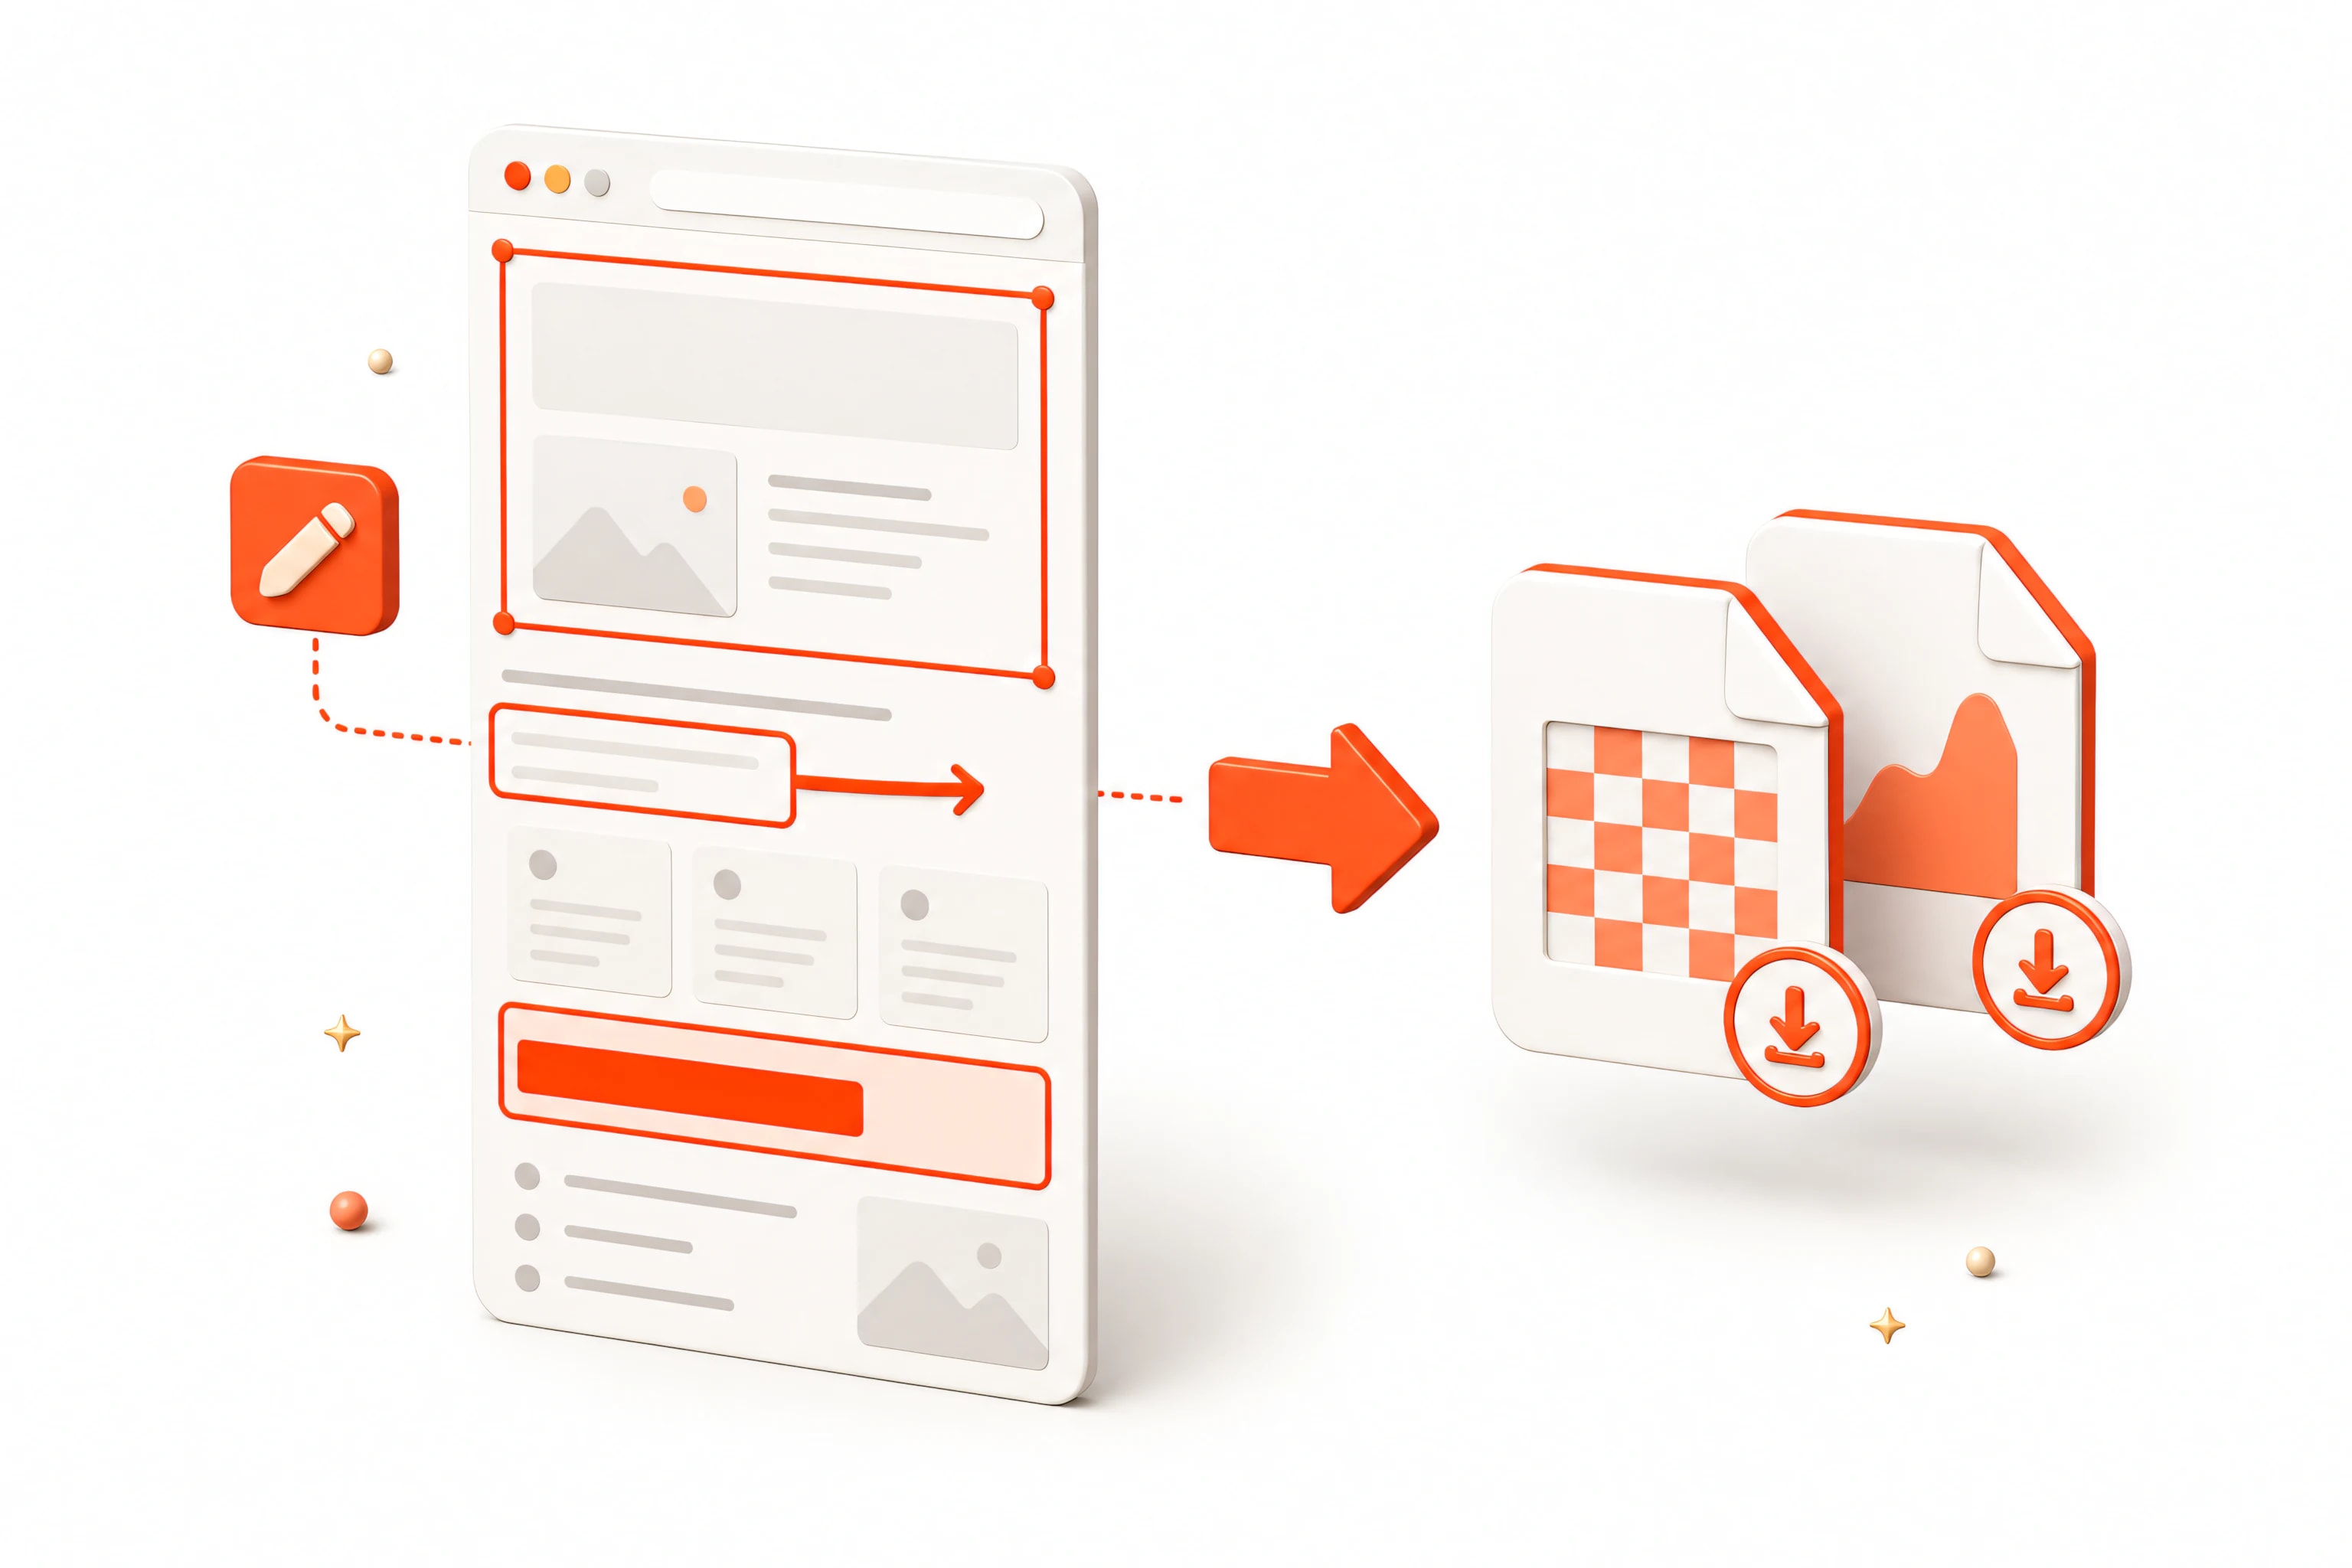
To annotate a full page screenshot in Chrome, keep an untouched original, open a duplicate in the editor, crop only irrelevant space, add a small number of arrows or numbered callouts, apply irreversible redaction to sensitive pixels, and export the format required by the reviewer.
The same workflow lets you edit a full page screenshot, redact a screenshot in Chrome, and export an annotated screenshot as PDF without sending the working copy to a remote editor.
The goal is not to decorate the screenshot. A useful annotation explains what happened, where the reader should look, and what decision or action is required while preserving enough surrounding context to verify the claim.
- Use one visual language for severity, sequence, and ownership.
- Keep callouts outside the interface element whenever possible.
- Redact the final pixels, not only an editable overlay.
- Open the exported file and verify legibility before sharing.
Start with the decision the screenshot must support
Before opening an annotation tool, write the one question the image must answer. A QA screenshot may need to show where the rendered result differs from the specification. A support screenshot may need to show which control the customer should use. A design review may need to compare hierarchy, spacing, or state across a long page.
That decision determines what to preserve. Keep the URL area or page title when source context matters, retain surrounding sections when layout relationships matter, and include the final success or error state when the screenshot is evidence of a workflow. Remove unrelated areas only when they add no verification value.
Capture a clean original before editing. An annotated screenshot is an interpretation; the original is the reference that lets another reviewer check whether a crop, callout, or redaction changed the meaning.
Annotate the decision, not every detail
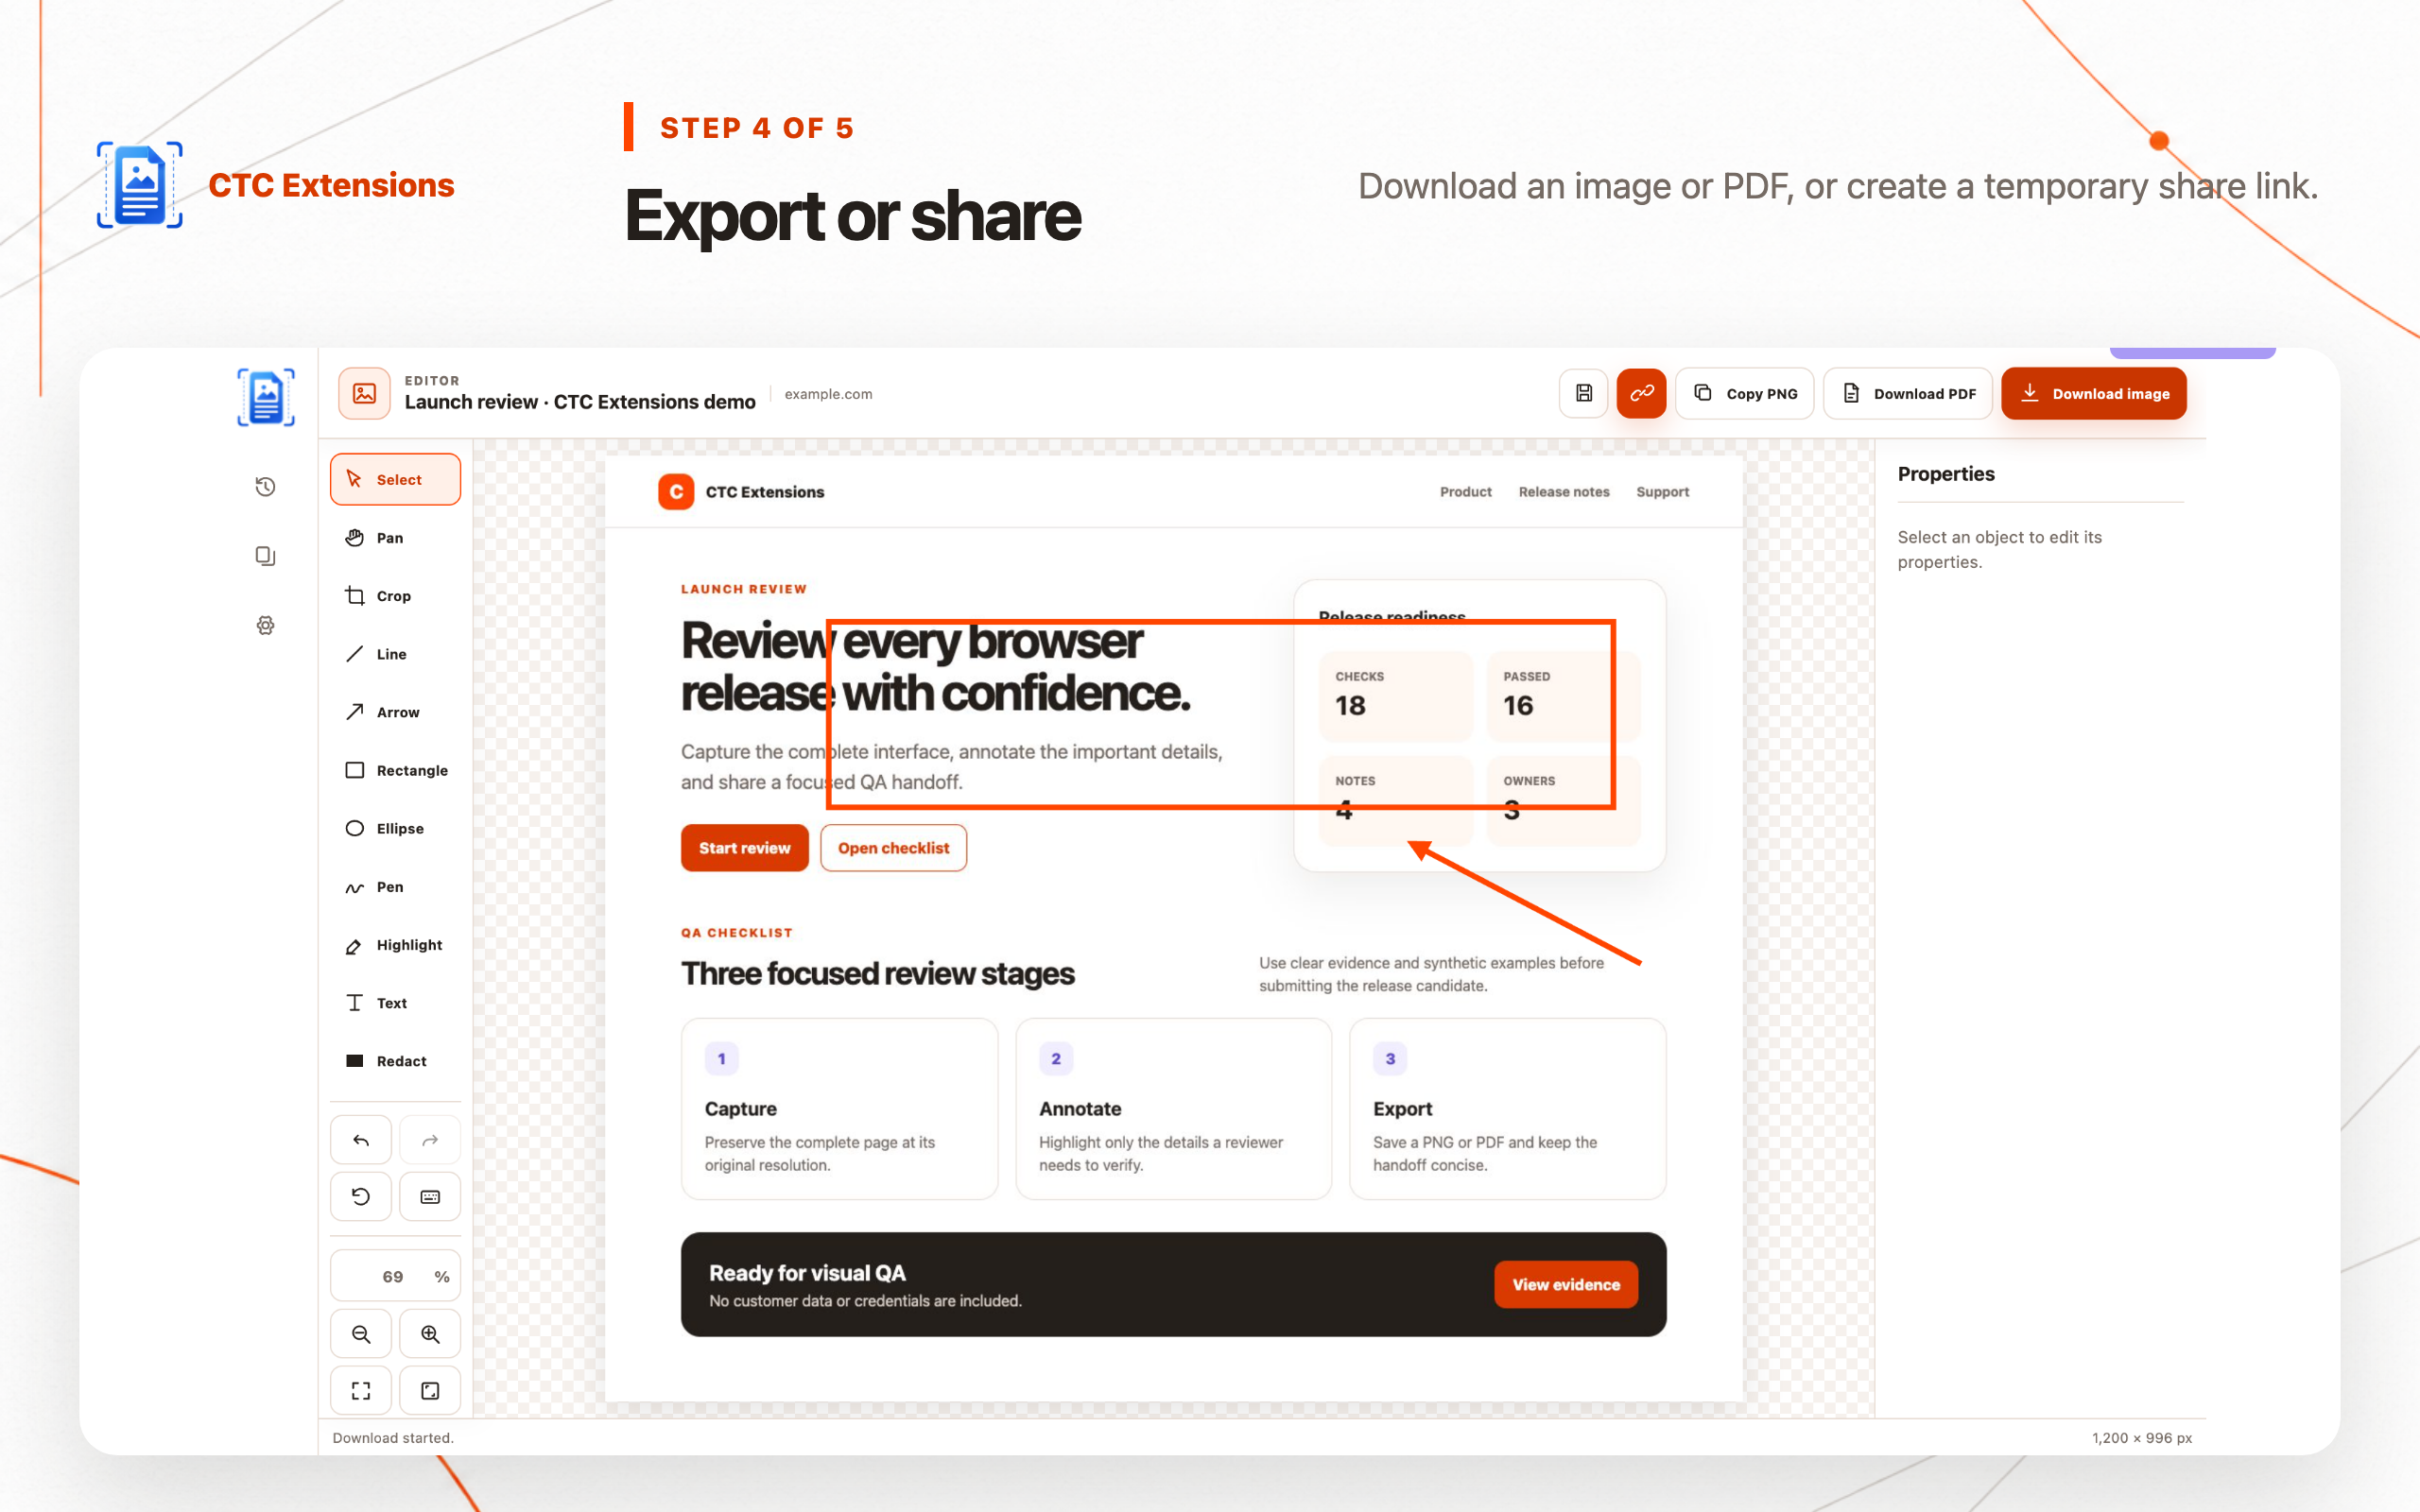
Use arrows to connect a note to a precise control, rectangles to define an affected region, highlights to show a value, and numbered callouts to explain a sequence. Keep text short and move labels into empty space so they do not cover the interface being reviewed.
Choose a consistent visual grammar. For example, red can mark a defect, orange can mark a warning, and blue can mark an instruction. Do not use color as the only signal; pair it with a number, icon, or label so the annotation remains understandable for readers with color-vision differences.
Too many marks make a screenshot harder to scan. If more than five or six unrelated callouts compete for attention, split the evidence into multiple images or create a numbered SOP where each screenshot supports one action.
Redact sensitive information
Review the entire full-page image for email addresses, customer names, account IDs, order numbers, tokens, internal URLs, balances, notifications, and confidential navigation labels. Sensitive information can appear far from the area you annotated because a full-page capture includes content above and below the initial viewport.
Use solid redaction that replaces the exported pixels. A removable shape layer, translucent marker, or weak blur can leave the original value readable or recoverable. Reopen the final PNG, JPEG, or PDF outside the editor and zoom in to verify that the information is gone.
Redact only what is necessary. Excessive masking can remove evidence that a reviewer needs to understand the page state, while insufficient masking can expose data unrelated to the task. Keep the untouched original in an approved location with stricter access.
Crop without removing essential context
Crop empty margins, repeated browser-independent chrome, or irrelevant footer content when it improves readability. Preserve page identity, the affected component, nearby labels, and any success or error message needed to verify the workflow. A tight crop that hides the selected account or page state can make the evidence ambiguous.
For a very tall capture, consider exporting both the complete page and a focused crop. Link or name them as a pair. The full image provides context and the crop lets a reviewer act quickly without zooming through thousands of pixels.
Do not resize the working copy repeatedly. Repeated resampling can soften small text and thin annotation lines. Keep the original-resolution capture, make edits once, and produce a separate delivery-sized export when a ticket or chat tool imposes limits.
Write callouts that lead to an action
A useful callout states the observation and its consequence. Replace vague labels such as Wrong or Fix this with specific text such as Total overlaps the checkout button at 1280 px or Select the workspace before importing the CSV. The written note should remain understandable when copied into a ticket or review comment.
For sequential instructions, number annotations in the same order as the written steps. Use one verb per step and include the visible result: Click Export, then confirm the XLSX download appears. This makes the screenshot support the instruction instead of forcing the reader to infer the process from arrows alone.
Avoid embedding long paragraphs inside the image. Longer rationale, expected behavior, environment details, and acceptance criteria belong in the surrounding document where they remain searchable and accessible.
Select the right export format
PNG preserves interface text, thin lines, and annotation edges and is the default choice for bug reports or product review. JPEG can reduce the size of image-heavy pages but may introduce artifacts around small text. Increase quality enough that labels remain readable at normal review zoom.
PDF works well for a fixed review copy, print workflow, or archive that will be combined with other documents. Check how an extremely tall page is scaled or paginated; a technically valid PDF is not useful if every interface label becomes too small to read.
Use a descriptive filename containing the page or workflow, state, viewport when relevant, and date. Keep versions explicit, such as checkout-error-annotated-v2.png, rather than overwriting the only clean original.
Keep an editable local history
When revisions are likely, retain the editable local capture and a clean original before producing the delivery file. This lets you move a callout, correct a label, or create a different crop without repeating the browser workflow or degrading an already compressed export.
Organize captures by project, issue, or review date and apply a retention rule. Local history is useful during active work, but screenshots containing customer or internal data should not remain indefinitely simply because they were never uploaded.
AI Full Page Screenshot – CTC Snap keeps capture and editing local by default. If collaboration requires a temporary share link, verify the redacted export first, limit distribution, and treat the link as access to the image until it expires.
Use annotated screenshots in QA, support, and SOPs
For QA, pair the image with the URL, build, browser, viewport, reproduction steps, expected result, and actual result. For support, remove internal details and use one clear callout that leads the customer to the next action. For design review, keep spacing and surrounding components visible so the image does not misrepresent hierarchy.
In an SOP, use screenshots to confirm state, not to replace every sentence. Interfaces change and localized labels differ. A durable instruction identifies the action and expected result in text, while the image reduces ambiguity for the current interface.
Before publishing or attaching the result, perform a final check at the size the recipient will see. Confirm that text is readable, arrows land on the correct target, redaction is irreversible, and the next action is explicit.
Screenshot annotation FAQ
How do I annotate a full page screenshot in Chrome?
Capture the complete page, open the result in an editor, preserve an original copy, then add focused arrows, rectangles, highlights, text, or numbered steps. Review the full image and export only after sensitive content has been redacted.
What is the best way to redact information in a screenshot?
Replace sensitive pixels with an opaque solid area in the exported image. Do not rely on a removable overlay or a weak visual blur. Reopen the final export to confirm that the original text cannot be recovered or read.
Should annotated screenshots be PNG or JPEG?
PNG is usually better for interface text and precise callouts because it preserves sharp edges. JPEG is useful for photographic pages when file size matters. PDF is practical for document review or archiving.
How many annotations should a screenshot contain?
Use the fewest annotations needed to explain the issue or sequence. If a screenshot needs many unrelated callouts, split it into separate views or use numbered steps with a short written explanation.
Can I share an annotated screenshot without uploading it?
Yes. Export the annotated image or PDF locally and transfer it through an approved system. AI Full Page Screenshot – CTC Snap keeps editing local by default; a network transfer occurs only when the user explicitly creates a temporary share link.